Friday, November 8, 2013

Quick & Easy Fall Wreath

Hope everyone had a fun Halloween!  The Flintstones made their appearance at a couple gatherings this year :)  Costumes (minus the wigs) were made by myself.


So, now that the Halloween decorations came down, and it's a little too early for Christmas, I wanted to make a fall wreath that I could hang on our front door through Thanksgiving.  I went to Michaels and they were having a sale on everything fall.  I picked up a grapevine wreath, burlap garland, and some hydrangeas.  


I cut most of the stems off the hydrangeas and weaved it through the wreath, bending the wire ends to secure it in place.


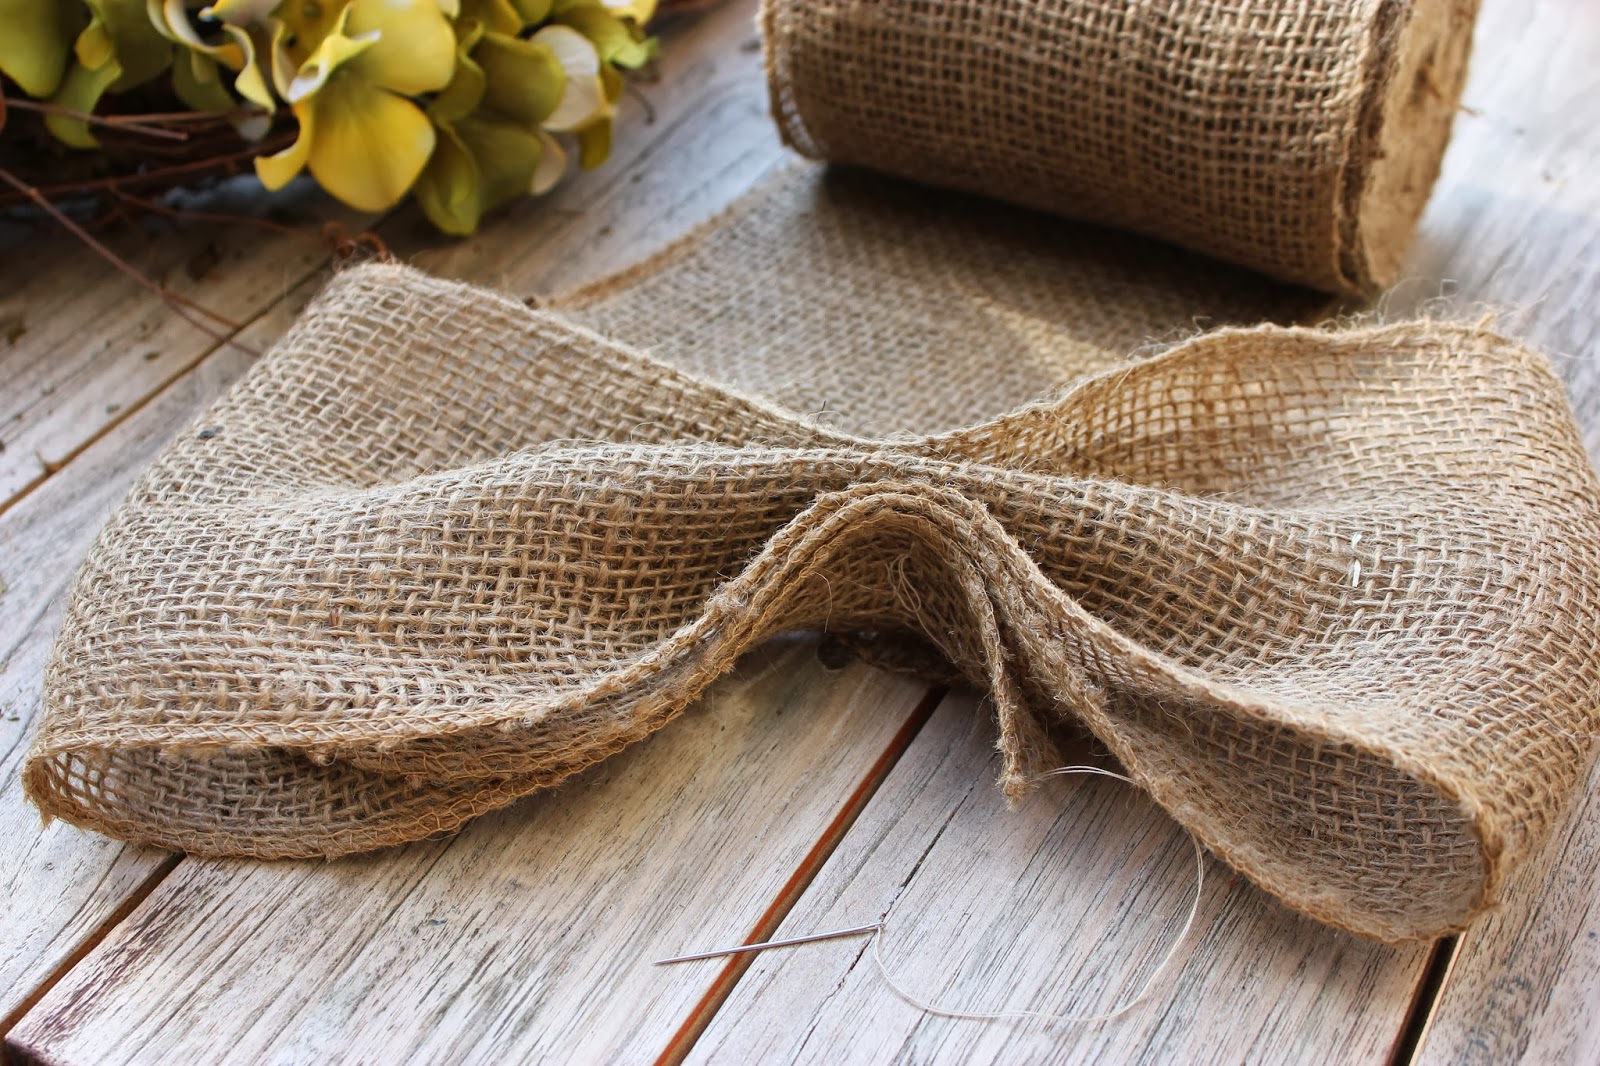
I tied a bow using the burlap garland, securing it with a needle and thread to the wreath.


And that's it!  This was one of the easiest wreaths I've made.  


Hopefully Christmas will be just as easy!

Thursday, October 3, 2013

Chalkboard Wedding Festivities


My best friend just got married in wine country last weekend.  She was the most gorgeous bride and her wedding was absolutely perfect.  Don't they look like they're straight out of a wedding magazine? 

Photographer: Marissa from Sweet Poppy Studios

Since she had such fabulous photographers at her wedding, I didn't take any pictures.  Instead, I'll share some pictures from her chalkboard & wine themed shower from a few weeks ago...

Invite via paperless post (such an easy way to manage invitations and RSVPs).

Guests were greeted by a wreath at the door (wine corks hot glued to a foam wreath) with a chalkboard sign in the center.


The signage was made from chalkboard card stock and chalk markers and the sign holders were made from 2 wine corks held together by hot glue and bakers twine.


The bride-to-be sign was also made from chalkboard card stock, chalk markers and twine.


 Guests shared a piece of marriage advice for the soon to be MRS.

 And everyone left with chalkboard stemless wineglasses filled with chocolates.
From my toast...Wishing Mr. Right and Mrs. Always Right a lifetime of love, laughter, wine & sunshine!


Check out more of my chalkboard projects from Leah's 1st b-day here!

Monday, June 24, 2013

Secret Ingredient Zucchini Bread

I had a few zucchini leftover from one of our dinners last week, so I decided to try and make zucchini bread.  I found this recipe online, but I wanted to make it healthier.  I cut out a lot of the sugar, added whole wheat flour and flax, and subbed apple sauce for the oil.  Here is my version:

Makes 1 loaf (12 servings)
Ingredients
1-1/2 cups all-purpose flour 1/2 cup all-purpose flour, 3/4 cup whole wheat flour, 1/4 cup ground flax
1/2 teaspoon salt
1/2 teaspoon baking soda
1/2 teaspoon baking powder
1-1/2 teaspoons ground cinnamon
1-1/2 eggs 2 egg whites
1/2 cup vegetable oil 1/2 cup apple sauce
1 cup and 2 tablespoons white sugar 1/2 cup brown sugar
1-1/2 teaspoons vanilla extract
1 cup grated zucchini 2 cups grated zucchini
2/3 cup chopped walnuts

Directions
  1. Grease and flour 8 x 4 inch bread pan. Preheat oven to 325 degrees F.
  2. Sift flour, flax, salt, baking powder, soda, and cinnamon together in a bowl.
  3. Beat eggs, apple sauce, vanilla, and sugar together in a large bowl. Add sifted ingredients to the creamed mixture, and beat well. Stir in zucchini and nuts until well combined. Pour batter into prepared pan.
  4. Bake for 45 to 50 minutes, or until toothpick inserted in the center comes out clean. Cool in pan on rack for 20 minutes. Remove bread from pan, slice, and enjoy!
The bread was super moist, had a nice crust on top, and was just sweet enough. Leah really liked the bread (another great way to get her to eat vegetables)!  And on a side note, I ran out of apple sauce, so the secret ingredient was a jar of apple cinnamon oatmeal baby food ;)   


Monday, June 17, 2013

Father's Day Recap

I hope everyone had a wonderful Father's Day!  We celebrated by having our parents, siblings and furry friends over for a BBQ yesterday.  Sadly, we were missing my older brother (who was celebrating his first Father's Day), my sister-in-law, and 1 month old nephew who are out on the east coast.  But we toasted to them anyway :)

Leah surprised her Daddy, Poppee and Yei Yei with handprint and footprint mugs she made all by herself.


She also made them personalized cards.  Here is the one she made for Daddy.

And my little brother showed me how to use the timer on my SLR - so we finally have a group shot!  Leah is actually looking at the camera, but too bad the doggies were too busy playing.


Thursday, June 6, 2013

Cheese, Please! Part II

I love cheese.  And if you didn't see my first cheese, please post, I recently received two cookbooks  "Mac & Cheese, Please!" and "Grilled Cheese Please!".  What more could a cheese lover ask for?  After making Zesty Kale Two Ways & Fontina Mac & Cheese I was ready to try out a grilled cheese recipe.  The Havarti with Balsamic-Glazed Carrots sounded interesting as I never thought of putting vegetables in a grilled cheese sandwich. The hubs and I had it for lunch one day and it was delicious!  The carmelized carrots and the creamy havarti melted together to make the perfect, unexpected pairing.

Makes 4 sandwiches
Ingredients
  • 2 tablespoons olive oil
  • 2 large carrots, cut into 4-inch-long segments
  • 2 tablespoons balsamic vinegar
  • Salt and freshly ground black pepper
  • 2 tablespoons butter, room temperature
  • 8 slices rye, whole-grain or Italian bread
  • 8 ounces Havarti

To make the carrots: Heat oil in large nonstick skillet over medium-high heat. Add carrots and cook, stirring frequently, until caramelized around the edges, 5 to 7 minutes. Turn heat to medium-low and add vinegar and salt and pepper to taste. Cover and cook until soft, about 5 minutes. Transfer to a plate.

To assemble: Butter one side of each slice of bread. Place 4 slices on your work surface, buttered side down. Place carrots on bread. Distribute cheese over carrots. Top with remaining bread slices, buttered side up.
Heat a large nonstick skillet over medium heat for 2 minutes. Put sandwiches into pan, cover and cook for 3 to 4 minutes, until golden brown. Flip sandwiches, pressing each one lightly with the spatula to flatten slightly. Cover and cook 3 to 4 minutes, until golden brown. Turn 1 more time, and cook for about 1 minute, or until cheese has melted completely. Remove from pan and cool for 5 minutes. Cut in half and serve.

I served the grilled cheese sandwich with a side of mixed greens dressed with olive oil, lemon juice, salt and pepper.
Yum!


Friday, May 31, 2013

Up-cycled Mommy & Me Clothes - 2

I'm back!  It's been a busy month of traveling and family activities and I just haven't had a moment to sit down and blog.  I have so much to catch everyone up on, and I'm going to start off with my latest up-cycled sewing projects!  (If you missed my last one, click here).
Last weekend I picked up a few easy-to-sew patterns for $1 at Joann fabrics during their Memorial Day sale.  Instead of buying fabric, I rummaged through a bag of my old clothes and found this plaid halter sundress that I won't wear anymore, but the fabric is really cute. Not very mommy-esque, right?

I used Simplicity pattern 2469 and chose the tunic top with an empire waist and ruched straps.  I started cutting up the dress and laying the pattern pieces out.  Surprisingly, I had just the right amount of fabric!  I was even able to salvage the elastic and use it for the back of the new top.


And after working on it off and on during two naps and one evening, here it is!


I love that I was able to transfer the pockets from my old dress to the new one so Leah can put all her little treasures inside.  It fits her well, with a little room to grow, so I hope Leah can wear it all summer!


And here is little miss Leah wearing it at the park today with her favorite kitty hat and jeggings.


Friday, April 19, 2013

Cheese, Please!

Ray and I were invited to a fun little cheese and wine tasting at The Cheese School in San Francisco a few weeks ago.  The event was hosted by James Beard Award–winning author and cheese expert Laura Werlin.  Not only did we get to taste some delicious wines and cheeses, but we also went home with two of Laura Werlin's cookbooks "Mac & Cheese, Please!" and "Grilled Cheese Please!".


I was so exited to try my first recipe from "Mac& Cheese, Please" - zesty kale two ways and fontina mac & cheese.  In this recipe kale is appears in two ways, mixed into the macaroni and as a crispy treat on top (a great way to hide veggies for those picky eaters).

Zesty Kale Two Ways & Fontina Mac & Cheese

Serves 6
Ingredients
1 tablespoon plus 1¼ teaspoons kosher salt
8 ounces cavatelli pasta (or use small shell pasta)
12 ounces curly-leaf kale (about a large bunch)
5 tablespoons olive oil
¾ cup coarsely chopped yellow or red onion (about ½ medium onion)
1 medium clove garlic, minced
½ teaspoon red pepper flakes
2 ounces Pecorino Romano cheese, finely grated (about 1 cup; or use Parmesan)
Freshly ground black pepper
2 tablespoons all-purpose flour
2½ cups whole or reduced-fat milk
½ cup heavy cream
12 ounces Fontina cheese, coarsely grated (about 4 cups)
¼ teaspoon cayenne pepper
¼ teaspoon ground or freshly grated nutmeg
 
Preheat the oven to 375 ̊F. Coat the inside of an 8-inch square (1½-quart) baking dish or pan (or
six 8-ounce ramekins) with olive oil. Set aside.
Fill a 4- to 5-quart pot about three-quarters full with water and add 1 tablespoon of the salt. Bring
to a boil and add the pasta. Cook, stirring once or twice, until tender but firm, about 8 minutes,
and drain. Reserve the pot.
To prepare the kale, remove the stems. Cut 4 whole leaves into quarters and coarsely chop
the rest. In a large skillet, heat 2 tablespoons of the oil over medium heat. Add the onion and
cook for 5 minutes, or until soft. Add the chopped kale and garlic and cover and cook, stirring
occasionally, until the kale is tender, 5 to 7 minutes. Stir in the red pepper flakes and ½ teaspoon
of the salt and set aside.
Place the quartered kale leaves in a small bowl. Toss with 1 tablespoon of the olive oil, half the
pecorino, and salt and black pepper to taste. Set aside.
Using the same pot you used to cook the pasta, heat the remaining 2 tablespoons oil over medium heat. Slowly whisk in the flour and stir constantly until a paste forms, 30 to 45 seconds. Continue stirring for 1 to 2 minutes, until the mixture starts to darken slightly and smell a bit nutty. Slowly whisk in the milk, cream, and the remaining ¾ teaspoon salt and cook until the mixture starts to thicken and is just beginning to bubble around the edges, 5 to 7 minutes. It should be thick enough to coat the back of a wooden spoon. Add 3 cups of the Fontina, the remaining pecorino, the cayenne, and nutmeg and stir until the sauce is smooth but not too runny. It should be similar in texture to cake batter. If it’s soupy, continue cooking until it thickens.
Add the pasta and chopped kale mixture, and stir to combine. Pour into the prepared baking dish. Sprinkle the remaining Fontina on top. Distribute the quartered kale leaves over the top. Place the dish on a rimmed baking sheet and bake until bubbling and golden brown, about 30 minutes. Let cool for 15 minutes before serving.
Add-Ins
Dried currants: Soak ½ cup currants in hot water for 15 minutes. Drain and add to the sauté pan
with the kale and garlic.


I ended up putting half the mac & cheese in ramekins for a lunch date with a couple of friends and I put the remainder in a pie pan for Leah and Ray to enjoy together at home.  Everyone loved it, even Leah, and it will probably show up on the menu for the next dinner we host!  It's a recipe you can prep ahead of time, and when everyone is ready to eat, just pop it in the oven!

Saturday, April 13, 2013

A fish taco kinda day

Rain, windstorm and finally a couple days of beautiful weather!  When the weather heats up I always feel like something light and refreshing for dinner, like fish tacos!  I found this Bobby Flay fish taco recipe online and, of course, tweaked it (see strikethroughs below).  It was the perfect meal after a day of hiking!

Ingredients:
1 pound white flaky fish, such as mahi mahi (I used tilapia because that's what was in the fridge)
1/4 cup canola oil olive oil
1 lime, juiced
1 tablespoons ancho chili powder 1 tsp cayenne pepper
1 jalapeno, coarsely chopped
1/4 cup chopped fresh cilantro leaves
8 flour tortillas corn and wheat tortillas (from trader joes)


Garnish:
Shredded white cabbage
Hot sauce
Crema or sour cream
Thinly sliced red onion Finely diced white onion
Chopped cilantro leaves
Pureed Tomato Salsa Store bought salsa
Lime


Directions:
Preheat grill to medium-high heat. Place fish in a medium size dish. Whisk together the oil, lime juice, cayenne pepper, jalapeno, and cilantro and pour over the fish. Let marinate for 15 to 20 minutes. Remove the fish from the marinade place onto a hot grill, flesh side down. Grill the fish for 4 minutes on the first side and then flip for 30 seconds and remove. Let rest for 5 minutes then flake the fish with a fork. Place the tortillas on the grill and grill for 20 seconds. Divide the fish among the tortillas and garnish with any or all of the garnishes.


Enjoy!

Thursday, April 4, 2013

iPhone Easter Recap

I hope everyone had a wonderful Easter!  I'm sorry I've been a little MIA, but we ended up packing up our car for a last minute trip to wine country.  I thought I got away with not forgetting anything, but once we arrived I quickly realized it was Leah's diaper bag that I left behind.  Luckily I had extras of all her essentials packed elsewhere in the car.  But, also in her diaper bag was my SLR, which is why all the pictures from our trip are from my iPhone.  Here are a few snapshots from our long weekend away:


Leah sitting pretty in an Adirondack chair at the resort.


Enjoying the view of the valley with Grammy & Poppee.


Taking Zoe for a walk.

Family picture at Cuvaison winery.

And I can't forget to include all our attempts for Leah to meet the Easter bunny!  I don't blame Leah, some of these bunnies are a little creepy looking.
Take 1 (Paso Robles Easter Bunny)

Take 2 (Hillsdale Mall Easter Bunny)

Take 3 (Napa Valley Easter Bunny)

I know, it's horrible that I'm smiling in the last picture.  I hope Leah isn't too traumatized.  We'll try again next year!

Wednesday, March 27, 2013

Mommy, Leah & Daddy Favorites


More of our family faves to enjoy the sun and a cup of coffee (or warm milk) in our backyard!


Mommy: Marc by Marc star sunglasses / Daddy: Hugo Boss metal shades / Leah: Sunbelt aviators


Mommy: Anthro monogrammed teacup / Daddy: Initech coffee mug / Leah: Doidy trainer cup


And, in case you missed it, click here to see my last Mommy, Leah & Daddy faves post!

Monday, March 25, 2013

Birds, Flowers & Pigtails!

We recently bought a family pass to CuriOdyssey, a science and wildlife center at Coyote Point.  Leah loves the hands on exhibits and getting up close to all the animals.  She especially likes bird watching in the aviary and seeing all the colorful flowers in the butterfly garden.

Here are some pictures from our trip with Grammy and Poppee this past week.  Leah was also sporting pigtails for the first time!